>> IoT IN ACTION - REMOTE MONITORING SYSTEM CONFIGURATION
.. now the fun part begins!


In follow-up to my
previous blog entry -
it was time to actually put everything together and configure the Arduino
Yún to take photographs periodically and automatically upload to
a public server on the Internet. Surprisingly, it didn't take much to get
the details sorted out - it went so well that I plan to take a road trip
tomorrow to install it.
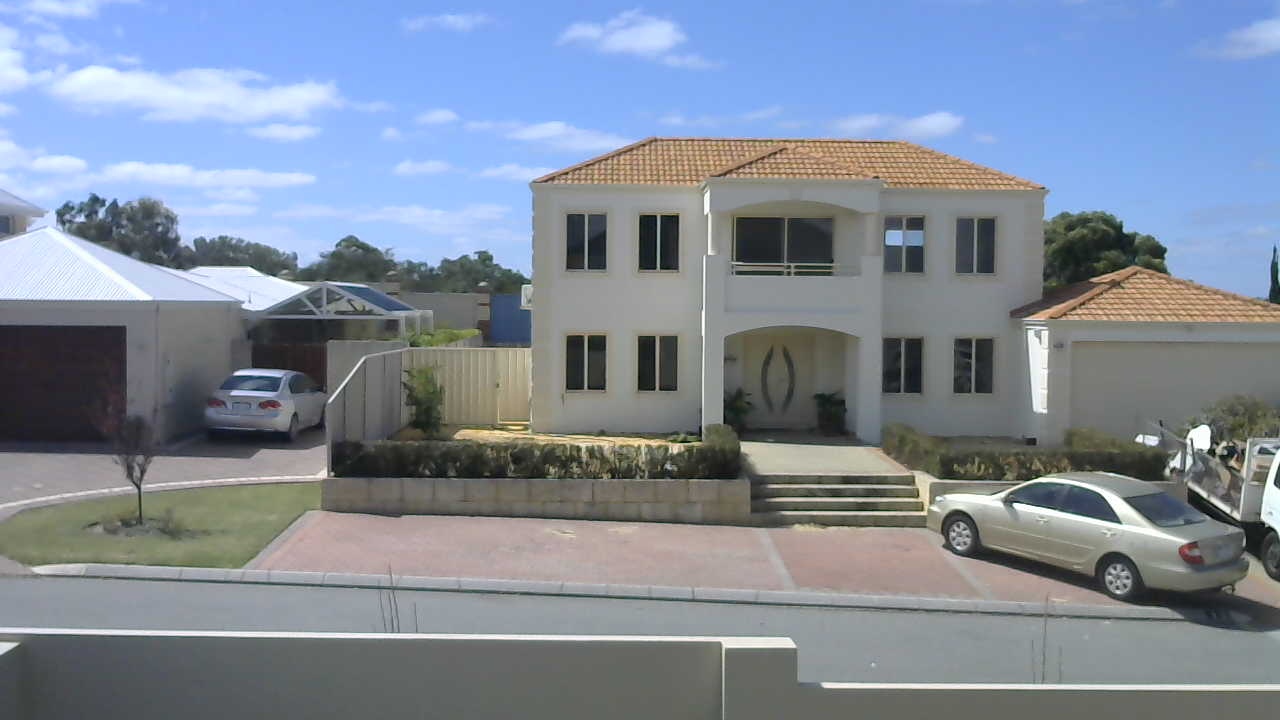
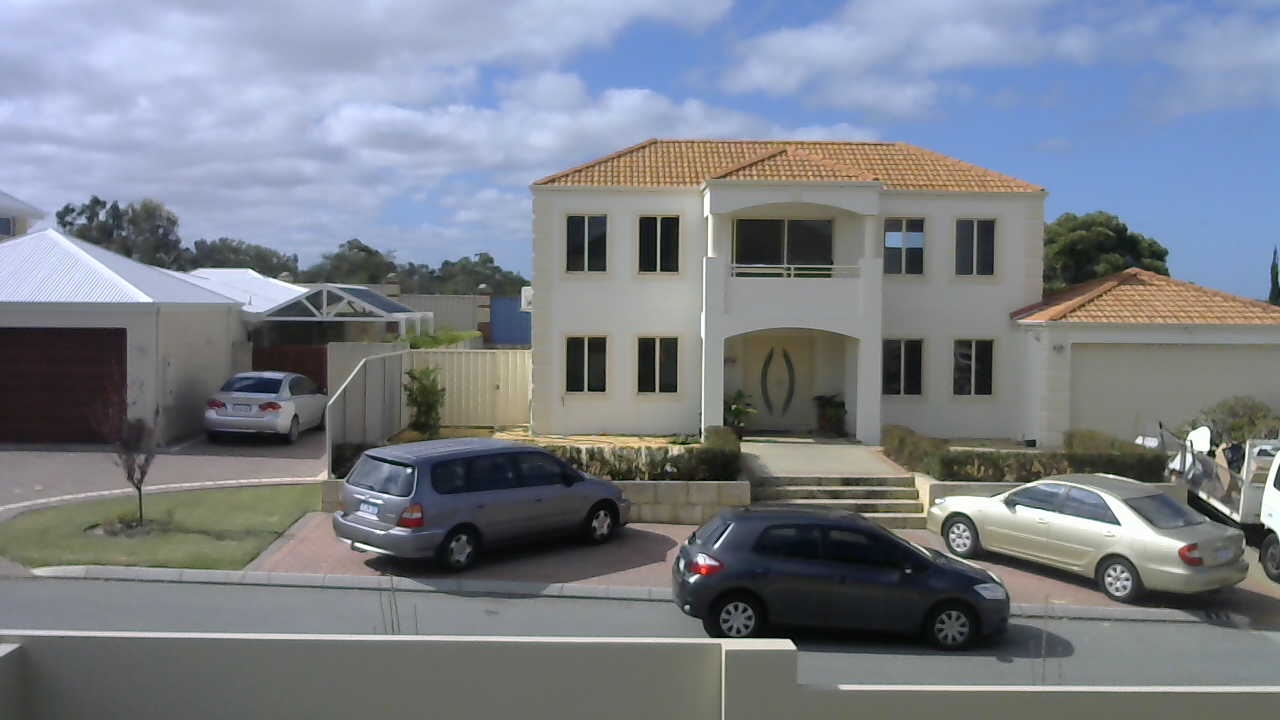
As part of a trial run - the two images above show the view from the up-stairs
bedroom of my family friends house overlooking the neighbours; taken at 14:00
and 15:00 local time. The quality of the images is good and even in a quiet
neighbourhood there is plenty of activity.
Configuration involved installing some software and scheduling a
cron job to do the work.
# login to the Arduino Yún
$ ssh -l root arduino.local

# install software for the UVC camera
$ opkg update
$ opkg install kmod-video-uvc
$ opkg install fswebcam

# install openssh keygen/client/server, remove dropbear
$ opkg remove dropbear
$ opkg install openssh-server
$ opkg install openssh-client
$ opkg install openssh-keygen
$ ssh-keygen -t rsa
$ cat ~/.ssh/id_rsa.pub | ssh ardiri@ardiri.com "cat >> /.ssh/authorized_keys"
I only used a portion from the
learn.adafruit.com
tutorial, effectively only installing the UVC camera drivers and the software
that would take a still photo. In order to have an automated solution for
uploading the photos I had to uninstall
dropbear and install
openssh
in order to generate an ssh-key and get additional functionality required for
the upload process.
The script to do the work is also simple:
Using the system date a unique filename is generated and then photo of
1280x720 resolution is taken, saved onto the memory card and then it is
copied to my web server using the scp (secure copy) program
which uses the credentials created in the early steps.
Finally, a simple crontab entry is required:
The first entry is just to keep the network connection alive between
the Arduino Y&uacte;n and the BlackBerry Z10 that has been configured
as a mobile hot spot - it does a simple ping every minute of the day.
It may not be necessary; but it will be interesting to see what happens
once I leave the solution to run on its own.
The second entry is the job that schedules the execution of the photo -
which happens on the hour and half hour, every hour between 07:00 and
18:30 which will result in twenty five photos a day uploaded to a
specific directory on the server for my viewing pleasure.
I picked up an
Optus pre-paid SIM that offers 1Gb of data and can be topped up
online.
If the testing at home goes well - a short 3 hour drive down to the building
site and figuring out where to hide everything will result in a constant
stream of activity (hopefully) being monitored which I may be able to use
against the builders directly if they get lazy on me.