>> HANDS ON WITH PARTICLE.IO PHOTON
I figured it was time to wipe the dust of this page and get back into the
tinkering mindset again.
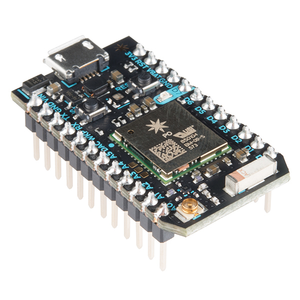
I came across a family of devices that I felt after letting the platform
mature a little it finally needed to be looked at. In December 2014 - the
$19 USD
Photon
device was unveiled - a result of a
kickstarter
campaign that eventually succeeded and the product commercialized. At first
glance one may assume it is just another micro-controller; but in fact it
isn't - it is much more than that. It is Arduino compatible and has a
complete ecosystem for device management and firmware delivery, a custom
cloud for interaction - not to mention a mobile SDK for building apps.
So; what about
specs?
Upon opening the package; the first thing we are told to do is visit
their website:
particle.io/start
You then simply select your device (yes, they have cellular versions as well)
and you get presented with a tonne of information about the device.
Unfortunately their getting started assumes you have a breadboard, LED and
mobile device handy - but there is nothing like good old USB and command
line for setting up these devices for first use; always good to see what
is going first hand.
First of all; you have to create an account on the cloud servers - simply visit
build.particle.io/signup.
To setup the device over USB; you need to use the particle-cli
toolchain which has a dependency on
NodeJS -
if you haven't installed it, visit the website and grab the latest version.
To install the particle-cli toolchain, open a Terminal window
and type the following:
Full
documentation
exists on the website for the tool; for simplicity we will focus on setting
up the device - connect the device via USB and open the terminal window and
run the command particle setup. The console will look something like
the following:
$ particle setup
 _ __             _   _      _
| '_ \  __ _ _ __| |_(_) ___| | ___
| |_) |/ _` | '__| __| |/ __| |/ _ \
|  __/| (_| | |  | |_| | (__| |  __/
|_|    \__,_|_|   \__|_|\___|_|\___|
                 https://particle.io

> Setup is easy! Let's get started...
? Hello Stranger! This seems to be your first time here.
? What would you like to do? Login
> Let's get you logged in!
? Please enter your email address user@host.com
? Please enter your password ********
> Successfully completed login!

> I have detected a Photon connected via USB.
? Would you like to continue with this one? Yes
! The Photon supports secure Wi-Fi setup. We'll try that first.

? Found "Photon-xxx".
? Would you like to perform setup on this one now? Yes

> Obtained magical secure claim code.
> Hey! We successfully connected to Photon-xxxx
> Now to configure our precious Photon-xxxx

? Would you like to manually enter your Wi-Fi network configuration? Yes
? Please enter the SSID of your Wi-Fi network: {SSID}
? Please select the security used by your Wi-Fi network: {security}
? Please enter your Wi-Fi network password: {password}
> Here's what we're going to send to the Photon:

> Wi-Fi Network: {SSID}
> Security: {security}
> Password: {password}

? Would you like to continue with the information shown above? Yes

> Obtaining device information...
> Setting up device id xxxxxxxxxxxxxxxxxxxxxxxx
> Requesting public key from the device...
> Setting the magical cloud claim code...
> Telling the Photon to apply your Wi-Fi configuration...
> The Photon will now attempt to connect to your Wi-Fi network...

> Configuration complete! You've just won the internet!
! Network not ready yet, retrying...
> It looks like your Photon has made it happily to the cloud!

? What would you like to call your photon? xxxxxxxxx

> Your Photon has been bestowed with the name xxxxxxxxx
> Congratulations! You've just won the internet!
Of course; follow the prompts and enter in the details specific to your
newly created account and the appropriate SSID, security and password
for your wireless network. The setup isn't extremely complicated; but
the goal is to obtain the device id, so that you can associate the device
with your account on the particle servers. Of course I masked the values
here for my own security :)
One of the nifty things that attracted me to the platform was the
concept of being able to not require physical access to the device
to deploy firmware updates. The Photon device has a fully integrated
OTA (over the air) update mechanism - which is great for remote management
of devices. I will leave it up to you to read the
documentation
on using their web based IDE, you can also download a local IDE for deployment
over USB, but that defeats the purpose of OTA firmware updates.
I put together a simple sketch that will print some logs to the Serial
console:
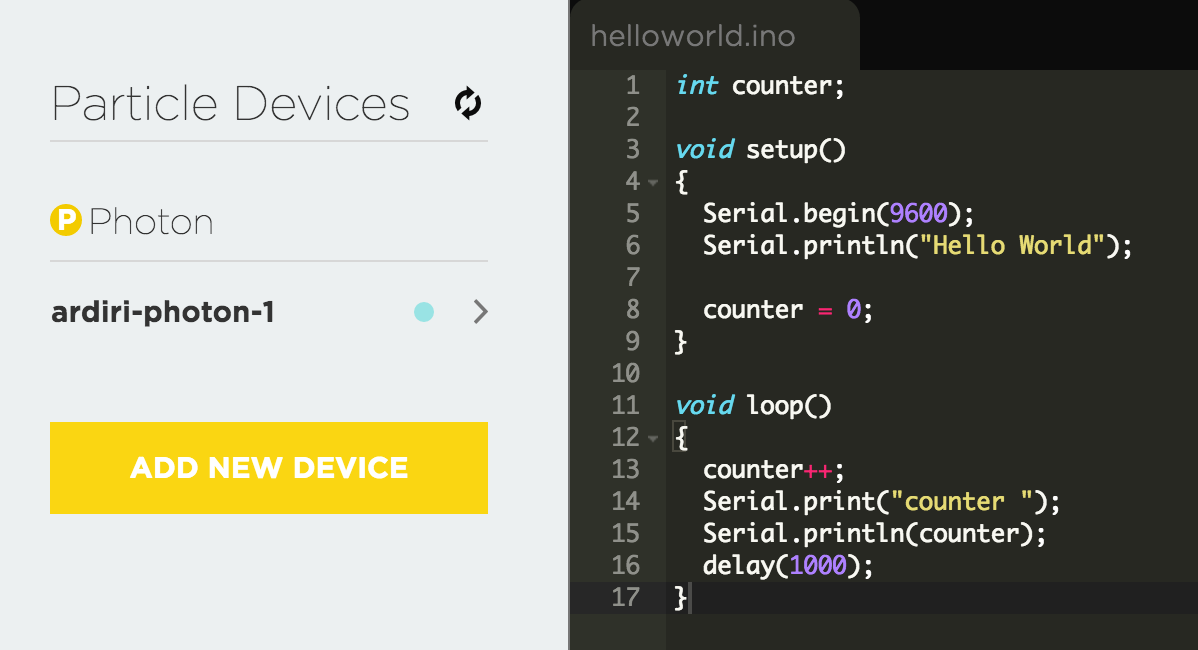
Using the web based IDE I was able to confirm the compilation of the sketch
and deployment it to the Photon device without any issues - the LED's
flashed as they should and it was now time to check the results of my labour.
Keeping in mind it was based on Arduino; I figured we could use the same old
technique for accessing the Serial communications using the Terminal window:
As expected; the device was printing a counter every second and was happily
doing exactly what it has been told to do without any issues. This only
touches a very small part of what the platform can do - I was specifically
interested in seeing how their OTA firmware update worked; not so much wanting
to use their cloud platform.
My next project will be to tinker a little more and post sensory information
to my own servers - not to mention play around with their assortment of
wireless modules
they have available as well. It will also be interesting to see how the
device handles from a performance point of view and exactly how much of
the memory available in the micro-controller can actually be used by the
user sketch.
![[Valid RSS]](valid-rss-rogers.png "Validate my RSS feed")